
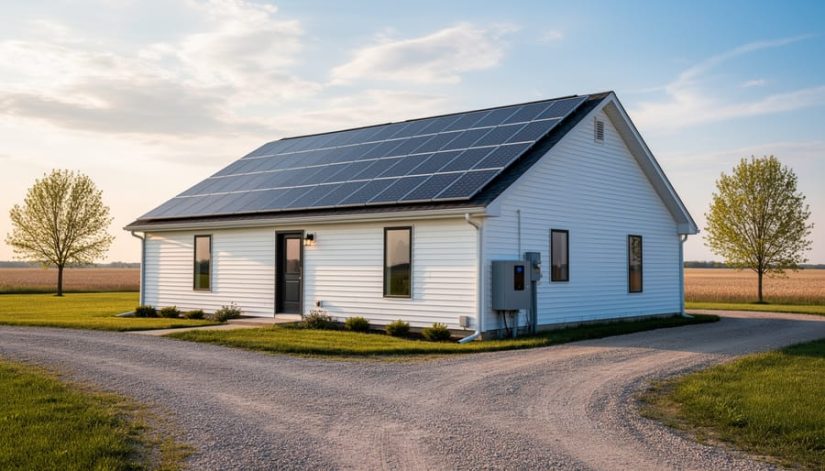
How to Set Up Home Renewable Energy for Off-Grid Living in Illinois
Installing a solar power system for your off-grid Illinois home requires planning for energy needs, selecting the right components, securing permits, and following proper installation protocols. Most homeowners can expect to spend 2-4 weeks on planning and permitting before installation begins, with the physical setup taking 3-5 days depending on system size and complexity. While certain tasks like mounting panels and connecting batteries demand precision and safety knowledge, understanding the complete process helps you make informed decisions about which steps require professional electricians and which you might handle yourself.
Remote properties across Illinois face unique challenges. Grid connection costs can exceed $30,000 when your home sits more than a quarter-mile from existing power lines, making solar installation the practical choice. The flatlands of central Illinois offer excellent solar exposure year-round, while properties in the southern regions benefit from slightly longer sun hours. Northern Illinois homeowners need to account for seasonal variations and plan for battery storage that covers shorter winter days.
Success depends on matching your system to actual power consumption, not guesswork. A typical off-grid home in Illinois uses between 20-30 kilowatt-hours daily, but your needs vary based on well pumps, HVAC requirements, and appliances. Undersized systems leave you without power during crucial periods. Oversized installations waste money on capacity you’ll never use.
This guide walks through each phase of off-grid solar installation, from calculating your energy baseline to final system testing. You’ll learn which equipment choices matter most, how Illinois permitting works for off-grid systems, and the safety protocols that protect both you and your investment.
Understanding Off-Grid Renewable Energy Systems
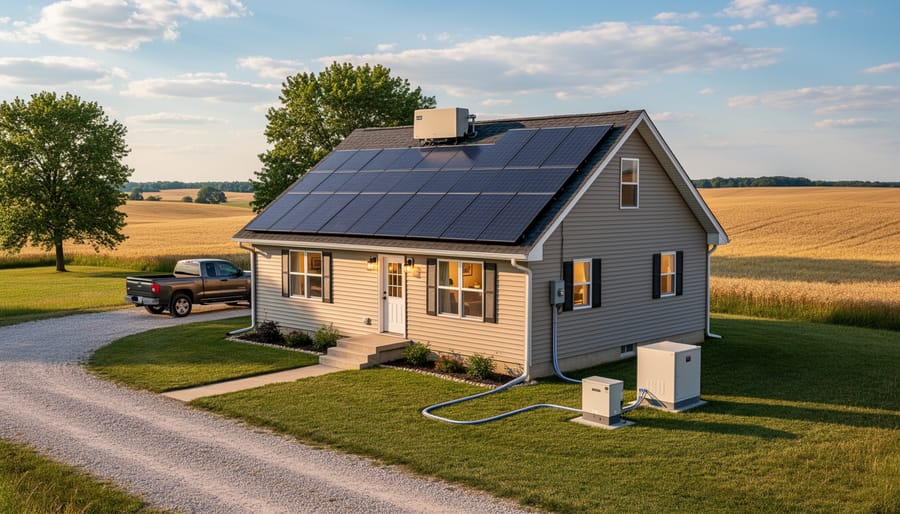
Off-grid renewable energy systems operate independently of the utility grid, generating and storing all the electricity a property needs. At the heart of these setups are four essential components that work in sequence. Solar panels capture sunlight and convert it into direct current (DC) electricity. That DC power flows to a charge controller, which regulates voltage and prevents battery overcharging. The electricity then charges a battery bank that stores energy for use when the sun isn’t shining. Finally, an inverter converts stored DC power into alternating current (AC) electricity that runs your household appliances and devices.
Unlike grid-tied systems that feed excess power back to the utility, off-grid setups must be sized to meet your complete energy demand during periods of low sunlight. This makes battery capacity especially critical. A properly sized battery bank provides 24/7 battery storage capable of covering several days without sun, which is vital during Illinois winters when cloud cover can persist for extended periods.
Solar energy proves particularly well-suited for Illinois off-grid applications despite the state’s variable weather. Illinois receives sufficient annual sunlight to power off-grid homes when systems are properly designed for seasonal variations. The solar benefits in Illinois include predictable daily generation patterns during growing seasons and the ability to oversize arrays to compensate for reduced winter production. Modern battery technology has also improved dramatically, allowing off-grid systems to store enough power to bridge multi-day weather events common in the Midwest.
The key is matching component sizes to your specific energy needs and Illinois climate patterns rather than copying generic off-grid formulas designed for sunnier regions.
Tools, Materials, and Equipment You’ll Need
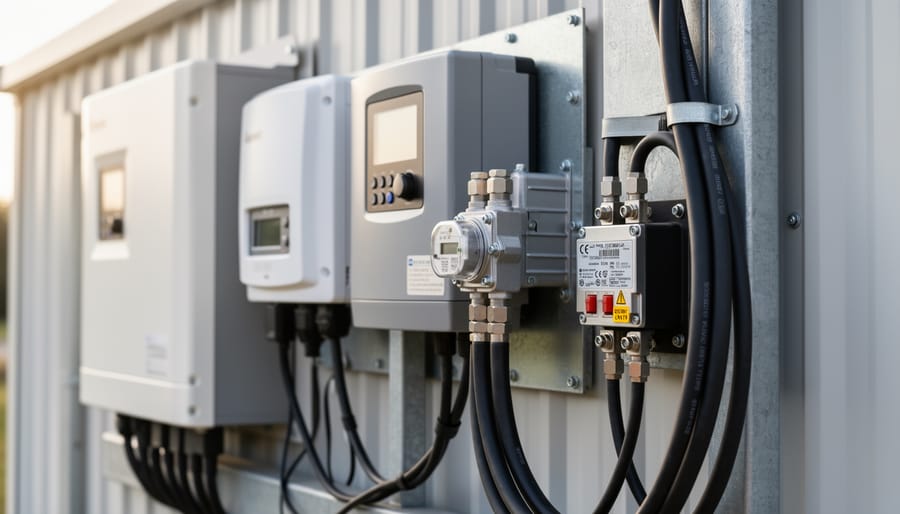
Setting up an off-grid solar system requires specific equipment that works together to capture, store, and deliver power to your home. Understanding what you need before you start helps prevent costly mistakes and ensures your system meets your energy requirements from day one.
Solar Panels
Your solar array is the power generation heart of the system. For Illinois off-grid applications, you’ll need enough panels to meet your daily energy needs plus charge your battery bank, even during shorter winter days. Most residential off-grid systems use 300-400 watt monocrystalline panels, which offer better efficiency in limited space and perform reasonably well in cloudy conditions. Quality panels come with 25-year performance warranties and certifications from organizations like UL or IEC. Calculate total wattage based on your energy audit results, typically ranging from 3,000 watts for small cabins to 10,000+ watts for full-time family homes.
Battery Bank
Lithium iron phosphate (LiFePO4) batteries have become the standard for off-grid storage, offering 10-15 year lifespans and 80-90% usable capacity. You’ll need enough storage to cover 2-3 days of energy use without sun, which for most Illinois homes means 15-30 kWh of capacity. Lead-acid batteries cost less upfront but require more maintenance and replacement every 3-5 years. Look for batteries with built-in battery management systems (BMS) and temperature compensation features for Illinois’s temperature swings.
Core System Components
- Inverter/charger unit: Converts DC battery power to AC household power and manages charging (size 25-50% above peak load)
- Charge controller: MPPT type recommended for maximum efficiency, rated for your total solar array amperage
- Mounting hardware: Ground-mount posts or roof racking rated for 90+ mph winds and snow loads
- Electrical components: Appropriately sized copper wire (typically 10-2 AWG), conduit, DC and AC disconnects, overcurrent protection breakers
- Grounding equipment: Grounding rods, clamps, and bare copper wire for electrical safety
- Monitoring system: Tracks production, consumption, and battery state of charge in real-time
Buy components designed to work together, and don’t cheap out on safety equipment like disconnects and breakers. Your specific equipment list depends on your energy audit results, but these fundamentals apply to every off-grid solar installation. When sizing components, round up rather than down to accommodate future expansion and ensure your system never operates at maximum capacity continuously.
Safety Warnings and Permitting Requirements
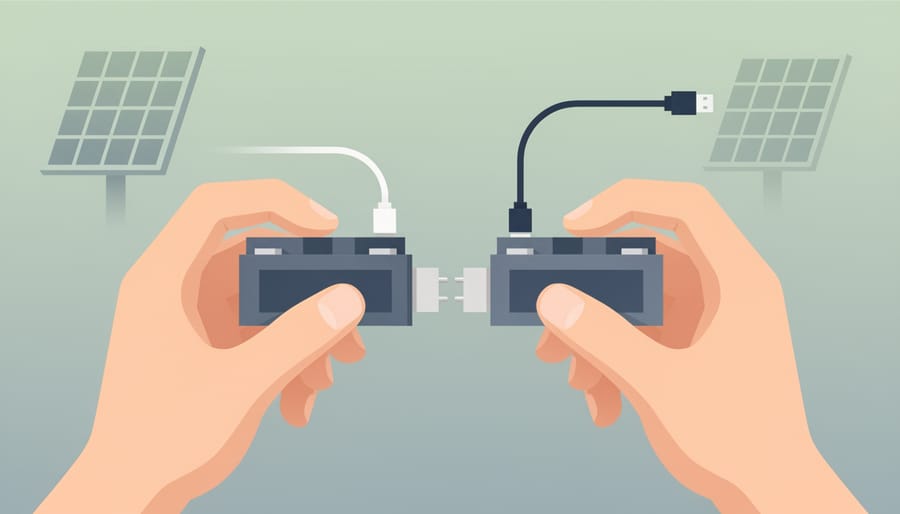
Off-grid renewable energy systems involve serious electrical hazards that can cause injury or death if mishandled. Before starting any installation, recognize that you’ll be working with high DC voltages (typically 24V to 48V, sometimes higher), potentially lethal battery banks storing hundreds of kilowatt-hours, and electrical connections that can arc or short-circuit if improperly handled. Working on rooftops or with ground-mount structures introduces fall risks, while battery banks present chemical exposure dangers and the possibility of thermal runaway or hydrogen gas buildup in poorly ventilated spaces.
In Illinois, off-grid solar installations must comply with the National Electrical Code (NEC) and local building codes enforced by your county or municipality. Most jurisdictions require permits for solar installations regardless of grid connection status, though Illinois zoning limits on renewable energy systems are generally more permissive than for other structures. You’ll typically need a building permit, electrical permit, and in some counties, a separate solar installation permit. Setback requirements vary by location but commonly mandate that ground-mount arrays sit at least 10 feet from property lines and that roof-mounted systems don’t exceed certain height limits above the roofline.
Before purchasing equipment, contact your local building department to understand specific requirements for your property. Some rural Illinois counties have minimal permitting processes, while others conduct thorough plan reviews and inspections. Factor in inspection timelines when planning your project, as some jurisdictions may take weeks to schedule the required electrical and final inspections. Most importantly, ensure all electrical work meets NEC Article 690 standards for solar installations and Article 706 for energy storage systems. If your system exceeds 10 kW or involves complex battery configurations, strongly consider hiring a licensed solar installer who understands both the technical requirements and local permitting landscape.
Step-by-Step Off-Grid Energy Installation Process
Step 1: Conduct an Energy Audit and Load Assessment
Start by tracking every electrical device and appliance you’ll use off-grid. Walk through your property with a notebook, listing each item along with its wattage (found on labels or spec sheets) and how many hours per day you’ll run it. A well pump might draw 800 watts for 2 hours daily, while LED lighting could use 60 watts for 5 hours.
Separate your loads into essential and non-essential categories. Essential loads, refrigeration, water pumping, heating controls, critical lighting, must run every day. Non-essential items like power tools or entertainment systems can flex around available sunlight. This distinction becomes crucial during Illinois’s cloudy winter weeks when solar production drops.
Calculate your daily watt-hours by multiplying each device’s wattage by its runtime, then sum everything. A typical off-grid Illinois home needs 5,000 to 15,000 watt-hours daily depending on size and lifestyle. Add 25% as a safety buffer for inefficiencies and unexpected use.
Your battery bank should store at least three days of essential loads to handle extended storms. Divide your daily watt-hour total by your system voltage (usually 24V or 48V) to get amp-hours needed. Your solar array must generate enough to recharge those batteries while powering daytime loads, accounting for Illinois’s average 4 peak sun hours in winter.
Step 2: Design Your System and Select Components
With your energy audit complete, translate those numbers into specific equipment selections. Start with solar panel wattage: divide your daily energy consumption (in watt-hours) by Illinois’s average peak sun hours, roughly 4.5 hours in summer, 2.5 in winter. Use the winter figure to ensure year-round reliability. Add 25% as a safety margin for cloudy days and panel degradation. If you need 5,000 watt-hours daily, you’d require at least 2,500 watts of panel capacity (5,000 ÷ 2 × 1.25).
For battery storage, calculate days of autonomy you need without sun, typically three to five days in Illinois. Multiply your daily consumption by this number, then divide by 0.5 if using lead-acid batteries (you shouldn’t discharge below 50%) or 0.8 for lithium (80% depth of discharge). That 5,000 watt-hour daily load needs 30-37.5 kWh of lead-acid capacity, or 18.75-23.5 kWh of lithium.
Choose an inverter rated for your peak simultaneous load plus 20-30% overhead, if you’ll run 3,000 watts at once, select a 4,000-watt inverter minimum. Match your charge controller type to battery chemistry: MPPT controllers cost more but deliver 15-30% better harvest than PWM models, critical during Illinois winters.
Decide on system voltage (12V, 24V, or 48V) based on scale, 48V systems handle larger loads more efficiently with thinner wire.
Step 3: Prepare the Installation Site
Before mounting anything, prepare your installation site to ensure long-term performance and safety. For ground mounts, select level ground with unobstructed southern exposure and clear any vegetation within a 10-foot perimeter. If you’re installing on a roof, inspect the structure carefully, older homes may need reinforcement to handle the combined weight of panels and potential snow loads that regularly exceed 30 pounds per square foot in central Illinois. Walk the roof and check for soft spots, damaged decking, or compromised rafters.
Clear all shade-creating obstacles. Even partial shading from a single tree branch can reduce array output by 25% or more. Trim overhanging limbs and note where shadows fall during morning and late afternoon hours across all seasons.
Prepare your battery storage area next. Batteries require consistent temperatures between 50°F and 80°F for optimal lifespan, so insulate the space if needed. Install ventilation fans or vents to prevent hydrogen gas buildup during charging. Position batteries on a non-conductive surface away from living areas, and ensure the room stays dry year-round.
Step 4: Install Solar Panel Mounting Systems
Start by assembling your racking system according to the manufacturer’s instructions, paying close attention to structural load ratings that exceed Illinois snow loads of 20-30 pounds per square foot plus wind speeds up to 90 mph. For ground mounts, set posts in concrete below the frost line, at least 42 inches deep in northern Illinois, and allow 48 hours for curing before attaching rails. Optimal tilt depends on latitude and for most Illinois locations between 37° and 42° north, a fixed angle of 38-40 degrees maximizes year-round production. Use stainless steel or aluminum hardware rated for outdoor exposure, torquing all bolts to specifications with a calibrated wrench to prevent loosening from thermal expansion. Verify the racking is level in both directions using a quality level, as even small deviations affect panel alignment and can create stress points during high winds or heavy snow accumulation that Illinois experiences December through March.
Step 5: Mount and Wire Solar Panels
With your racking securely in place, you’re ready to mount the solar panels themselves. Start by lifting panels onto the rails, work with a partner since panels are awkward and can catch wind easily. Secure each panel using the mid-clamps and end-clamps provided with your racking system, tightening bolts in a criss-cross pattern to distribute pressure evenly. Leave a small expansion gap between panels as specified by the manufacturer.
For wiring, you’ll connect panels in series to increase voltage or in parallel to increase current, depending on your system design. Series connections link the positive terminal of one panel to the negative of the next, while parallel connections join all positives together and all negatives together. Most off-grid systems use a combination to achieve the target voltage for your charge controller and inverter.
Run electrical conduit from the array to your battery location, securing it every few feet and maintaining proper bend radius. Use appropriately rated wire for your system’s amperage and distance, accounting for voltage drop. Install disconnect switches at both the array and battery ends to allow safe maintenance. Follow National Electrical Code requirements for outdoor-rated conduit, proper grounding, and wire sizing.
Step 6: Install Battery Bank and Power Center
Battery installation requires extreme caution, these components store massive amounts of energy and demand respect. Position your battery bank in a temperature-controlled space between 50-80°F, away from living areas. If you’re using flooded lead-acid batteries, ensure excellent ventilation to disperse hydrogen gas. Lithium batteries need less airflow but still benefit from stable temperatures.
Start by bolting batteries securely to prevent movement during maintenance. Wire batteries in series to reach your system voltage (24V or 48V typical), then parallel strings if you need more capacity. Use appropriately sized cables, undersized wiring creates dangerous heat and voltage drop. Torque all terminal connections to manufacturer specs with an inch-pound wrench.
Mount your inverter/charger near the battery bank to minimize cable runs. Install a Class T fuse or circuit breaker between batteries and inverter, this is your primary overcurrent protection. Create a proper equipment grounding system, connecting all metal enclosures to a grounding electrode. Never bypass safety disconnects; they’re essential for maintenance and emergencies.
Double-check polarity before energizing anything. Reversed connections destroy equipment instantly and can cause fires.
Step 7: Connect System Components and Configure Settings
With all physical components installed, the final electrical connections bring your off-grid system to life. Start by double-checking that all disconnects are in the off position before making any connections. Wire the solar array output to the charge controller input terminals, respecting polarity (positive to positive, negative to negative). Then connect the charge controller output to your battery bank, followed by the connection from batteries to the inverter input. Install a battery monitor shunt on the negative cable between batteries and inverter to enable accurate state-of-charge tracking.
Once wired, power up the charge controller first and access its settings menu (usually via buttons on the unit or a connected app). Select the correct battery chemistry profile, sealed lead acid, flooded lead acid, lithium iron phosphate, or whatever matches your bank. Set absorption voltage, float voltage, and equalization parameters according to your battery manufacturer’s specifications; incorrect settings will dramatically shorten battery life. Configure the inverter next, programming low-voltage cutoffs to protect batteries from over-discharge and setting AC output preferences.
Finally, connect any system monitoring displays or configure wireless monitoring through smartphone apps if your equipment supports it. These tools let you track daily energy production, battery voltage, charge state, and power consumption in real time, essential data for managing an off-grid system effectively.
Testing, Verification, and System Commissioning
Once you’ve completed the physical installation and wiring, the system commissioning phase determines whether your off-grid renewable energy setup will reliably power your Illinois home. Start verification with the system still disconnected from any loads, working methodically through each component before bringing the full system online.
Begin with voltage testing at the solar array. Using a multimeter, measure the open-circuit voltage from your panels, on a clear Illinois day, you should see voltage readings within 5% of the manufacturer’s specifications. Next, check voltage at the charge controller input terminals to confirm proper connection. With the charge controller connected to the battery bank but not yet to loads, verify the battery bank voltage matches your system design (typically 12V, 24V, or 48V systems). Morning testing works well because batteries will be at their lowest state of charge after overnight use by parasitic loads.
Proceed to load testing by connecting a small, known load (like a 100W incandescent bulb) to the inverter output. The inverter should power the load smoothly, and you can calculate efficiency by comparing DC power draw from the batteries to AC power delivered. A quality inverter typically achieves 90-95% efficiency at moderate loads. Monitor the system display or external monitoring equipment to confirm the charge controller is directing solar production to recharge the batteries while powering the load.
Essential verification tests include:
- Solar array voltage matches rated output within 5% on a sunny day
- Battery bank voltage reads correct for system design (12V, 24V, or 48V)
- Charge controller displays incoming solar power and charging amps
- Inverter successfully powers test loads without error codes
- System monitoring shows energy flow from panels through batteries to loads
- Battery temperature remains stable during charging (should not exceed 95°F)
- No voltage drop exceeding 3% between components
Watch the complete charge cycle over a full sunny day: batteries should show bulk charging in the morning (high current), transition to absorption (constant voltage), and finally reach float stage (maintenance voltage) by afternoon. This progression confirms your charge controller is properly managing battery health. Run larger loads like power tools or appliances to test the inverter under realistic conditions, listening for any unusual sounds and watching for voltage sag.
Common initial issues often involve incorrect charge controller settings for your battery chemistry, lead-acid, AGM, and lithium batteries require different voltage setpoints. If batteries aren’t reaching full charge, verify you’ve selected the correct battery type in controller programming. Nuisance inverter shutdowns typically indicate undersized wire gauge causing voltage drop, or inverter surge capacity insufficient for motor-starting loads. Ground faults trigger immediate shutdowns and require careful inspection of all connections and wire insulation.
Document baseline performance metrics during commissioning: record peak solar production on a clear day, battery voltage at full charge and after overnight discharge, and inverter efficiency at various load levels. These benchmarks become invaluable for troubleshooting future performance changes. Illinois winters will test your system differently than summer commissioning, so monitor performance through your first full seasonal cycle.
Ongoing Maintenance and Next Steps
Your off-grid system won’t maintain itself, but the routine is straightforward. Check battery terminals monthly for corrosion and clean them with a wire brush if needed. Monitor water levels in flooded lead-acid batteries every four to six weeks, topping off with distilled water only. Sealed AGM or lithium batteries require less hands-on care but still benefit from monthly voltage checks to catch failing cells early.
Clean solar panels twice a year, once in spring after pollen season and again in late fall before snow arrives. A soft brush and hose water handle most dirt; avoid abrasive cleaners that scratch protective coatings. While you’re up there, inspect mounting hardware for loose bolts and check that no new shade sources have emerged from growing trees.
Every three months, walk your system from panels to inverter. Tighten electrical connections that vibration has loosened, look for rodent damage to conduit, and verify that overcurrent protection devices haven’t tripped. In Illinois, freeze-thaw cycles can shift ground-mount racking, so check alignment each spring.
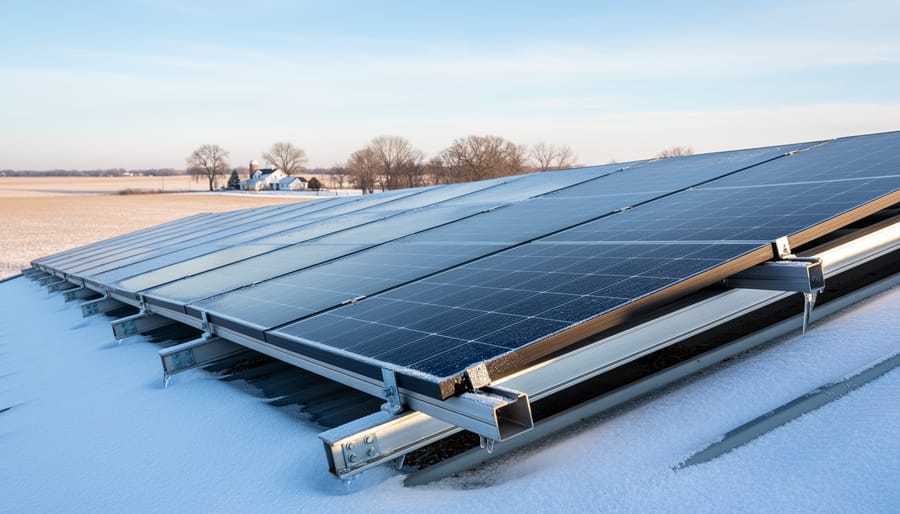
Winter demands extra attention. Snow rarely blocks panels long in central Illinois, but heavy accumulation cuts production when you need heat most. A roof rake extends your reach safely. For extended cloudy stretches, common January through February, a propane or natural gas generator bridges the gap. Size it to run essential loads plus battery charging. Some homeowners explore backup biomass power using wood gasification, though this adds complexity.
When daily consumption consistently approaches 80% of your battery capacity, it’s time to expand. Add panels first if you have roof space; they’re cheaper per watt than batteries. If you’re weighing on-site vs grid expansion options, calculate your cost per additional kWh, off-grid scaling often favors efficiency improvements before adding hardware.
Frequently Asked Questions About Off-Grid Home Energy
How much does a complete off-grid solar system cost in Illinois?
A residential off-grid system typically ranges from $30,000 to $60,000 depending on energy needs and battery capacity, with larger properties requiring more panels and storage potentially exceeding $100,000. While upfront costs are substantial, off-grid systems eliminate monthly utility bills entirely and can generate renewable asset cash flow through creative financing structures.
Can I install a partial off-grid system and stay connected to the utility?
Yes, hybrid systems that combine grid connection with battery backup offer flexibility, allowing you to use solar power as your primary source while maintaining grid access during extended cloudy periods. This approach reduces upfront battery costs while still providing substantial energy independence and backup power during outages.
How do off-grid solar systems perform during Illinois winters?
Winter production drops significantly due to shorter days and snow cover, so proper system sizing must account for December and January being your lowest production months. Most Illinois off-grid homeowners oversize their arrays by 30-40% and include backup generator capacity to supplement solar during prolonged winter storms.
How long do off-grid batteries last before replacement?
Quality lithium batteries typically last 10-15 years with proper maintenance, while lead-acid batteries need replacement every 5-8 years depending on depth-of-discharge cycles. Battery replacement represents the largest ongoing cost in off-grid systems, so factor this into long-term financial planning.
When deciding between DIY installation and professional help, consider that electrical work involving battery banks and inverters carries serious safety risks and strict code requirements. Licensed solar installers bring expertise in system sizing, permitting, and safe installation practices that prevent costly mistakes. For most homeowners, professional installation ensures your system operates reliably from day one and maintains warranty coverage on all components.
Off-grid home renewable energy isn’t just a theoretical concept, it’s a practical reality for Illinois property owners who take the time to plan properly and execute systematically. You’ve now seen the complete process from initial energy audit through final commissioning. While the steps are straightforward, the technical complexity and safety considerations mean this isn’t typically a weekend DIY project for most homeowners.
The difference between a functioning off-grid system and an expensive collection of solar equipment often comes down to proper sizing, component selection, and installation quality. Working with experienced local professionals who understand Illinois-specific challenges, winter weather, permitting requirements, and regional installation best practices, can save you from costly mistakes and ensure your system delivers reliable power year-round.
Start with an energy audit to understand your actual needs. From there, you can make informed decisions about system size and whether a professional installation makes sense for your situation. Illinois Renewables has designed and installed off-grid renewable energy systems across the state, bringing local expertise to projects ranging from small remote cabins to full-scale off-grid homes. Your path to energy independence begins with that first assessment.
